Nothing too exciting this weekend. I just spent some time staging bedroom #3 and #4, wrapping up all the upstairs bathroom work, and touching up paint in the office behind where the bookshelf was. I still have a lot of work in there; not construction but moving furniture and getting a chair. And moving out all the kitchen stuff that's waiting for countertops to show up but at least it's not anything hard.
Moving forward to next week I'll be up to more cleanup and grout sealing in the kitchen and main bathroom, then changing out the fabric on the blinds in the main bedroom from green to white. There will at least be a couple of pictures of that because I've never done it before and it seems like something really easy to do that can make a big difference for a room. I also need to regrout the fireplace surround and post pics of that with a writeup since it's another easy to DIY project. Most everything coming up this week is touch up work, then I'll move on to landscaping before long. I haven't posted any pictures of the back yard since 2008 so that should be good.
Sunday, October 31, 2010
Friday, October 29, 2010
Going from Linoleup to Tile - Things You Should Know
I'm done with the flooring in the bathroom upstairs - basically going from a linoleum (cruddy vinyl tile) to real tile. It's a pretty common thing for people to do but there are a few things that you have to keep in mind or else the whole thing will go horribly wrong.
First thing to think about - the whole floor will be close to an inch higher than it is right now. So if you look at the floor in a bathroom and think about what needs to go up you run into 2 things right away. The toilet and baseboards. Baseboards are pretty easy; pop them off, take the time to sand and paint them, and then put them back on once you're done tiling. The toilet on the other hand is something that gets overlooked and at first can look a lot harder than it really has to be.
On an earlier post I put up a picture of a closet flange

It sits on top of the floor and the drain to your toilet goes there. Now that you've decided to tile you're raising the subfloor (unless you're going on concrete) by installing cement board, plus the actual tile. The wax ring that goes on the toilet drain isn't going to fill that gap. Luckily they make closet flange extenders for this exact purpose. They install pretty easily - spread some wax on the surfaces to be mated and screw them in. Now you're ready to install the toilet.

The other thing you want to keep in mind when you go from linoleum to tile is the actual subfloor itself. If you're installing on top of a concrete surface you're good to go. Wood, like on a second floor / room above a basement or crawlspace takes a little more thought. First off in my opinion you shouldn't tile directly on top of typical oriented strand board (OSB). It'll just flex too much and your tile won't stand a chance. It'll crack and break. If you have a plywood subfloor you're doing better but only if the grain runs perpendicular to your joists. But the other part is, you need to consider what's below the wood. Rather than get into great detail about joist spacing and whatnot, just plug your information in here to see what you're good to install. When everything is set up right you won't have to worry about a thing. It's something you can really feel when you walk on it after a while. A good installation feels really solid - almost like a concrete subfloor. It'll last until you're tired of looking at that kind of tile and are ready for something else.
Tuesday, October 26, 2010
Oops!
I just spent a couple of minutes going through this and realized that I completely forgot to get pictures of the bedroom in! There won't be a before / after because with the furniture (now living in a guest bedroom upstairs) it was too bad to take pictures of. Anyway there are just a couple of slight problems with getting bedroom pics in right now...
There are 3 changes still in work. 1st is that the mirror came in damaged so we're waiting for another one so that means there's no mirror. It's pretty massive and makes a big difference. Second, the blinds. They still have that *lovely* forest green webbing but I've ordered white. The dark green was and still is one of my least favorite things to come out of the 1990s. Lastly, we ordered some wall art for the huge space above the bed. A king size bed is about 6 1/2 feet across and it's kind of hard to find something that big that still looks good. Luckily we found something that weighs in at about 60 inches across. It's intended to have an inch or two in between panels so it'll spread out a bit. I wanted something great big, but 100 inch wall art that's not actually painted by someone famous and is freakishly expensive is hard to come by. Maybe someday but not now.
Tiling in the upstairs bathroom is coming well and there'll be a brief writeup on how to deal with going from linoleum to tile soon. There are a couple of issues most people probably don't think of that can trip you up if you aren't prepared. I'm going to cut and set the last few pieces of tile today. Tomorrow the toilets go on, grout goes in and baseboards go back where they belong. Then we'll do some painting to get rid of the lovely shade of breen in the small room with the shower and call the bathroom finished. Then it's off to do some staging in the two upstairs bedrooms and touch up paint in the office. The whole upstairs is very close to being done and I'm guessing it will more or less be by the end of the weekend.
Sunday, October 24, 2010
Kitchen Work and More
I've been spending a lot of time with the last few things in the kitchen left to do besides the obvious backsplash which can't happen until countertops are in. As of now it's basically done with only touch up paint and sealing the grout remaining.

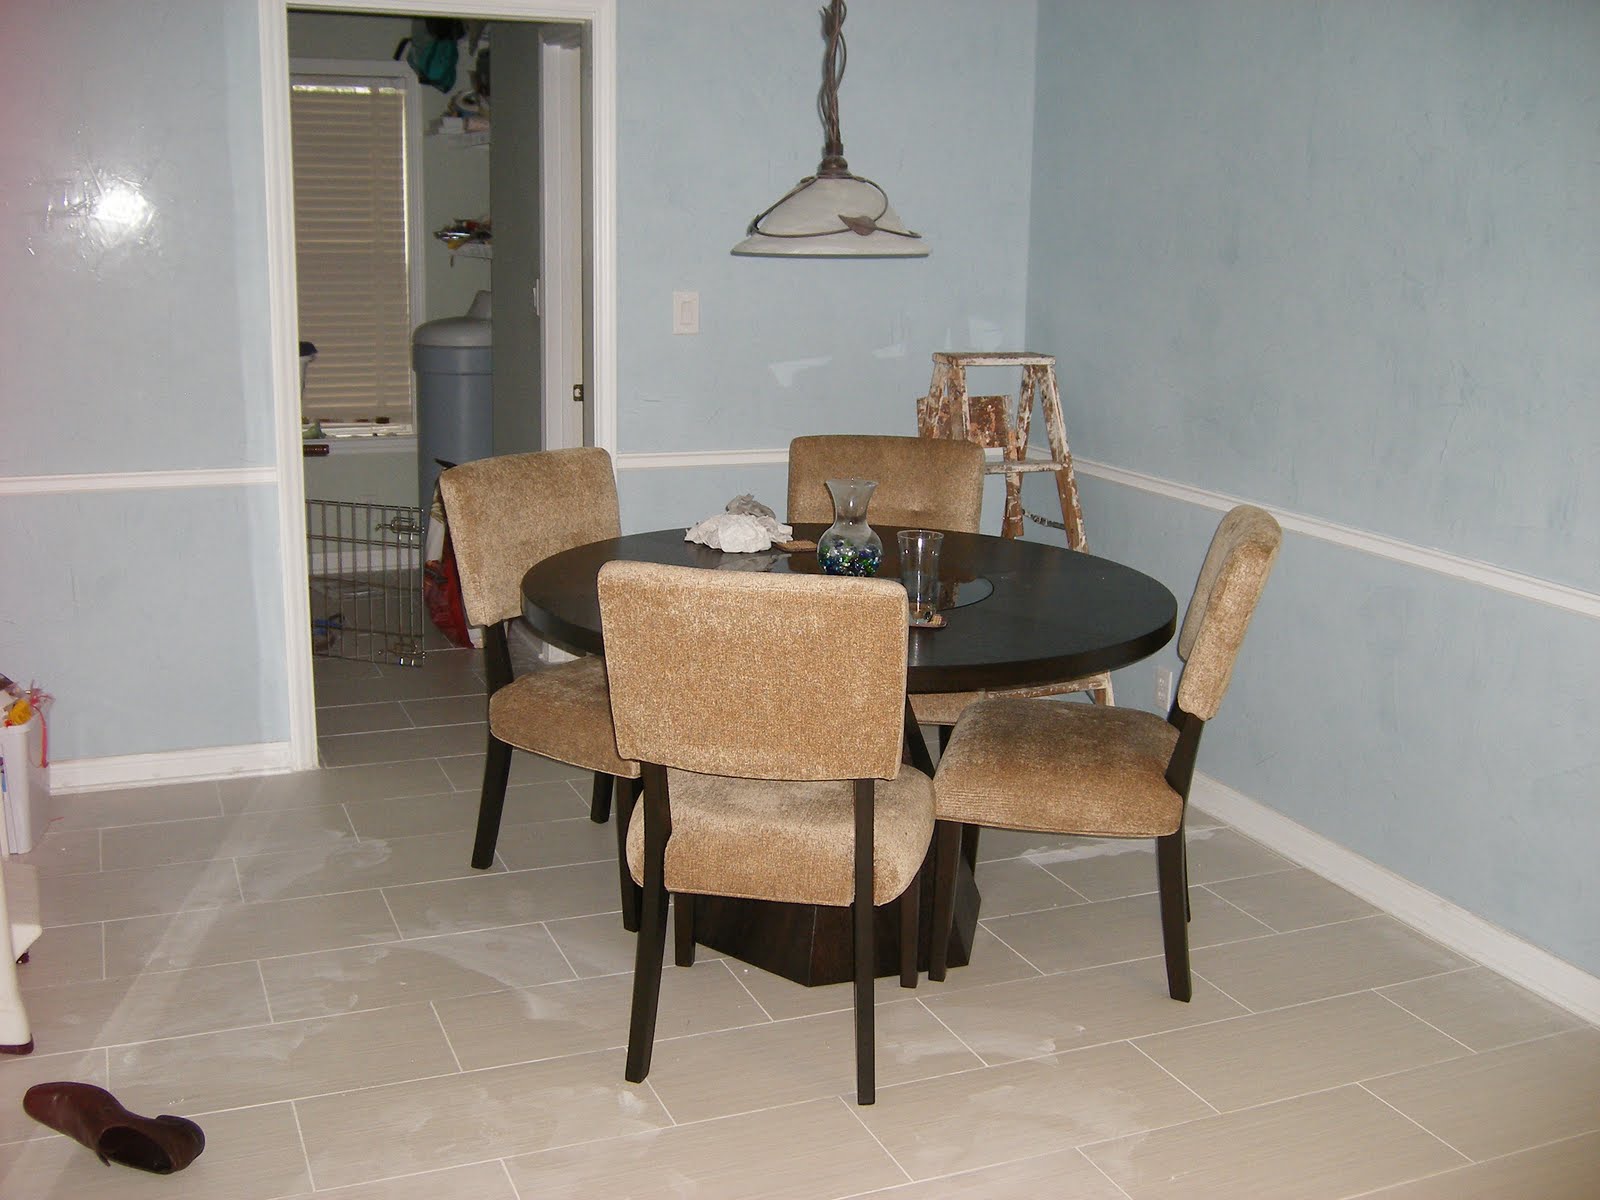
We got some furniture for the dining room. It was a royal pain to put together, and shockingly enough wasn't made in China (but a country not too far from there). Holes from one piece to the next didn't line up very well. Here's how it came out.

The last really big challenge remaining indoors is to do something about the horrible upstairs bathroom. The wallpaper isn't great, but it's passable. The really bad part was the floor. Someone thought it would be a good idea to take up the linoleum but then must've gotten too scared to tile the floor so instead they got a bunch of u-stick-em tiles (pull the paper off the back and stick 'em to the floor). Those looked terrible and didn't stick to the floor very well at all.

So I decided to do the right thing and put real tile down. I'm not trying for anything fancy here. Just something that's neutral and would go with pretty much anything. Since it's upstairs I had to install some underlayment first. I decided to use 1/2" thick cement board (Perma Base) and it worked pretty well. To make a cut just score it and snap along where you cut. Then to install put thin set down first, then screw it in with 1 1/4" screws. It seems pretty solid. Anyway I'm done installing all the whole tiles and only have the ones that need to be cut next. I'll try and finish those tomorrow, then install the toilets and grout everything on Tuesday.

There's only one small problem but it has an easy solution - the toilets used to sit on linoleum, then junk tiles on the floor. Real tile sits about an inch higher. Luckily they make extensions for the closet flange that will make up the gap. Stick it on with silicone sealant and you're good to go.
So if you're ever going from linoleum to tile you'll need two easy things. An extension for the toilet drain (closet flange) and cement board as an underlayment. Then you're good to go!

We got some furniture for the dining room. It was a royal pain to put together, and shockingly enough wasn't made in China (but a country not too far from there). Holes from one piece to the next didn't line up very well. Here's how it came out.
The last really big challenge remaining indoors is to do something about the horrible upstairs bathroom. The wallpaper isn't great, but it's passable. The really bad part was the floor. Someone thought it would be a good idea to take up the linoleum but then must've gotten too scared to tile the floor so instead they got a bunch of u-stick-em tiles (pull the paper off the back and stick 'em to the floor). Those looked terrible and didn't stick to the floor very well at all.

So I decided to do the right thing and put real tile down. I'm not trying for anything fancy here. Just something that's neutral and would go with pretty much anything. Since it's upstairs I had to install some underlayment first. I decided to use 1/2" thick cement board (Perma Base) and it worked pretty well. To make a cut just score it and snap along where you cut. Then to install put thin set down first, then screw it in with 1 1/4" screws. It seems pretty solid. Anyway I'm done installing all the whole tiles and only have the ones that need to be cut next. I'll try and finish those tomorrow, then install the toilets and grout everything on Tuesday.

There's only one small problem but it has an easy solution - the toilets used to sit on linoleum, then junk tiles on the floor. Real tile sits about an inch higher. Luckily they make extensions for the closet flange that will make up the gap. Stick it on with silicone sealant and you're good to go.
So if you're ever going from linoleum to tile you'll need two easy things. An extension for the toilet drain (closet flange) and cement board as an underlayment. Then you're good to go!
Wednesday, October 20, 2010
The Little Things that Kill
30 pulls. That doesn't sound so bad, does it? I didn't think so either until we bought them and then realized that there aren't templates to drill holes for 5in pulls. That means I get to measure and drill them all by hand. All 60 of them. Two evenings in and we have 4 left - easy ones at least. The horizontal ones that go on drawers are the hardest because they go through 1 1/2 inches of wood and aren't free to move about very much. Holes have to be way too straight and precise or the screw will just push the pull out of its way instead of screw in to the pull... Now you see the problem with this.
The good news is that they look pretty good, and that the kitchen will wrap up on Friday sometime. Pictures to come then.
Saturday, October 16, 2010
3 Week Countdown???
The title says it all - we may be closing in on about 3 weeks left until the inside portion of the renovation is finished. What's going on...
Today we buy the next to last part of the kitchen project - the granite. Estimates from Delta looked pretty good, and we're going over there in about 2 hours. Yesterday we bought the sink, tap and soap dispenser. They won't be in for about 2 1/2 weeks but that's about how long it takes to get the granite done anyway. The part for the oven came in and it works great now. So today's to do list:
- crown molding for the cabinets
- finish touching up grout (this is getting old...)
- build panel to sit between the dishwasher and small cabinet
- Caulk along baseboards
- Cut shims under cabinets / install toe kick
- Cut a hole in the small cabinet for an outlet, install outlet.
And finally... CLEAN UP!! Because tomorrow family is coming over so I'll have a little help getting the new fridge in and the old one into the garage.
So moving forward, what's that leave us? A couple of touchup things in the bathroom - caulking below the countertop and above the bathtub, grout in between just a couple of tiles in the bathtub surround, and touching up a bit of plaster. All that will be left in the kitchen is to install the backsplash but I can't do that until countertops are in of course.
After that closes out then we'll be able to do something about the cruddy fake tiles in the upstairs bathroom. Nothing fancy going in there - just regular tile from Lowes. I'm hoping that'll just take a few days. The one question in my mind is how to raise the closet flange for the toilets up to meet the surface of the new flooring. Maybe they make extenders or something... gotta read up on that one.
Then we'll work two projects outside. Remove a couple of bushes that've passed on and do some landscaping in the back yard, and touch up the finish on the concrete foundation. There's a skim coat that's started to come loose in a couple of spots but that's just maintenance. Finally clean up the patio and then we are DONE!
Saturday, October 9, 2010
Running out of creative 'kitchen' titles
I had more fun in the kitchen today, in between watching football and helping my other half study for a test next week.
The plaster is almost done in the kitchen. I'm going to have to put a thin coat on in the dining room, but that's not as bad as it sounds. All that's left in the kitchen is the last coat above the cabinets with the oven. Also managed to get everything in so the refrigerator could go back where it belongs, and I can finally use the door to the formal dining room again (hooray!).


I got to spend some time figuring things out on the oven today. Mainly why it takes so long to preheat anything. It seems like a preheat element is burned out, but I could see the big one at the top of the oven glowing so that's obviously not it and there aren't any more in sight. Making things even more confusing was the fact that it'd get really close to being up to temperature and then not warm up any more, never completing the preheat cycle. Then I read a review where someone commented on the glow coming from the convection fan and I definitely didn't see that. I took the cover off the rear wall of the oven and found

So it's warranty time. LG makes it easy - you can register your oven and file a claim online. Trouble is, you navigate to my oven model and then it tells you they're all out of warranty. Trouble is, I bought it new in August, this model is still being sold today, and the paperwork says that you get a 1 year warranty from the date of purchase. How this type of oven, still sold to this day, can be out of warranty is beyond me. In the end it was just easier to order a new heating element from Sears than try and make it through LG's runaround since they're not expensive. It's a shame because they do make nice appliances and the part that failed probably died because things got rough during shipping, but LG really needs to look into things like this. If you're selling something today that comes with a 1 year warranty it's impossible for all of them to be out of warranty already, and if you stop selling them at least wait a while for everything to clear out of the supply chain and don't remove the ability for someone to file a claim online (especially when the 1 year starts when someone buys the thing).
Anyway the moral of the story is... well there isn't one. But if your oven preheats really slowly it's time to have a look at the preheat elements, which are really easy to get to if you can't see them from just opening the door and looking up and down. If they're broken it's pretty obvious.
Thursday, October 7, 2010
Bathroom - Before and After
It took far too long to get to this post. Here's the bathroom - before and after.


Not a lot else going on... just measuring up the kitchen so I can get an estimate for what granite will run in there. I'd like to get going on that as soon as possible because it'll take time to get in. It's the last major expense of the renovation and I'll be glad when it's behind us.


Not a lot else going on... just measuring up the kitchen so I can get an estimate for what granite will run in there. I'd like to get going on that as soon as possible because it'll take time to get in. It's the last major expense of the renovation and I'll be glad when it's behind us.
Tuesday, October 5, 2010
Mini Update
Yes I'm holding out for a bigger update... the bathroom is really close to being done - basically all I have to do is put in the medicine cabinet, the last four tiles and touch up the plaster in a few places that got dinged but that takes time. And the small plaster trowel and I have no idea where that's hiding... I've been delayed for the last two days by other things and feeling too tired to work which happens sometimes when you put in 12 hours a day working on the house on saturday/sunday. Tomorrow I should be back in action.
The kitchen still looks ugly but it's moving forward at least. After I spend some time touching up the piece that I'm building to go between the small cabinet to the right of the dishwasher and the dishwasher I'll be moving a little faster again.


The kitchen still looks ugly but it's moving forward at least. After I spend some time touching up the piece that I'm building to go between the small cabinet to the right of the dishwasher and the dishwasher I'll be moving a little faster again.


Saturday, October 2, 2010
Ovens and cabinets
The oven is finally in and powered on. This was a big worry of mine, since the oven was a floor model and came from a different source than everything else. Best case is that it works fine (although it's missing a $15 trim piece at the bottom that I need to order) / worst case is that it doesn't work at all. Luckily when I turned the circuit on everything worked fine. On a side note, the wife can lift a whole lot more than she leads everyone to believe... we had no problem getting the oven up and into its space in the cabinet at all.

I also installed 4 cabinets today. Wanted to do more, but it took a long time to build a shelf strong enough to hold a 190lb oven in one of them. Tomorrow I'm hoping to get the others taken care of. Two of them will be a challenge. One has a cutout to go over the vent, while the other has a half dozen cutouts for water and drain lines as well as an electrical outlet. Fun stuff. The good news is that once those are done all the cabinets are in and I can do other things like plaster and grouting, lastly installing the crown along the top of the cabinets and baseboards. I'd like to say that it'll all get wrapped up tomorrow but every day feels like there are only one or two more left to go. Maybe this time I'll be right about it.


I also installed 4 cabinets today. Wanted to do more, but it took a long time to build a shelf strong enough to hold a 190lb oven in one of them. Tomorrow I'm hoping to get the others taken care of. Two of them will be a challenge. One has a cutout to go over the vent, while the other has a half dozen cutouts for water and drain lines as well as an electrical outlet. Fun stuff. The good news is that once those are done all the cabinets are in and I can do other things like plaster and grouting, lastly installing the crown along the top of the cabinets and baseboards. I'd like to say that it'll all get wrapped up tomorrow but every day feels like there are only one or two more left to go. Maybe this time I'll be right about it.

Subscribe to:
Posts (Atom)
